Getting Started
Set up your Kurrier workspace and start sending and receiving email.
Getting Started
Welcome to Kurrier. Your hosted workspace is already deployed and maintained for you, so you can begin by signing in and connecting the email services your team needs.
1. Sign in to your workspace
Open Kurrier using the link provided when your account was created and sign in with your account credentials.
If you belong to more than one workspace, select the workspace you want to use before changing providers or identities.
2. Connect an email provider
Workspace owners and administrators can manage email providers from Settings → Providers.
Kurrier supports several sending and mailbox providers, including:
To connect a provider:
- Open Settings → Providers.
- Choose the provider you want to add.
- Enter the requested credentials or account information.
- Save the provider and complete any verification steps shown by Kurrier.
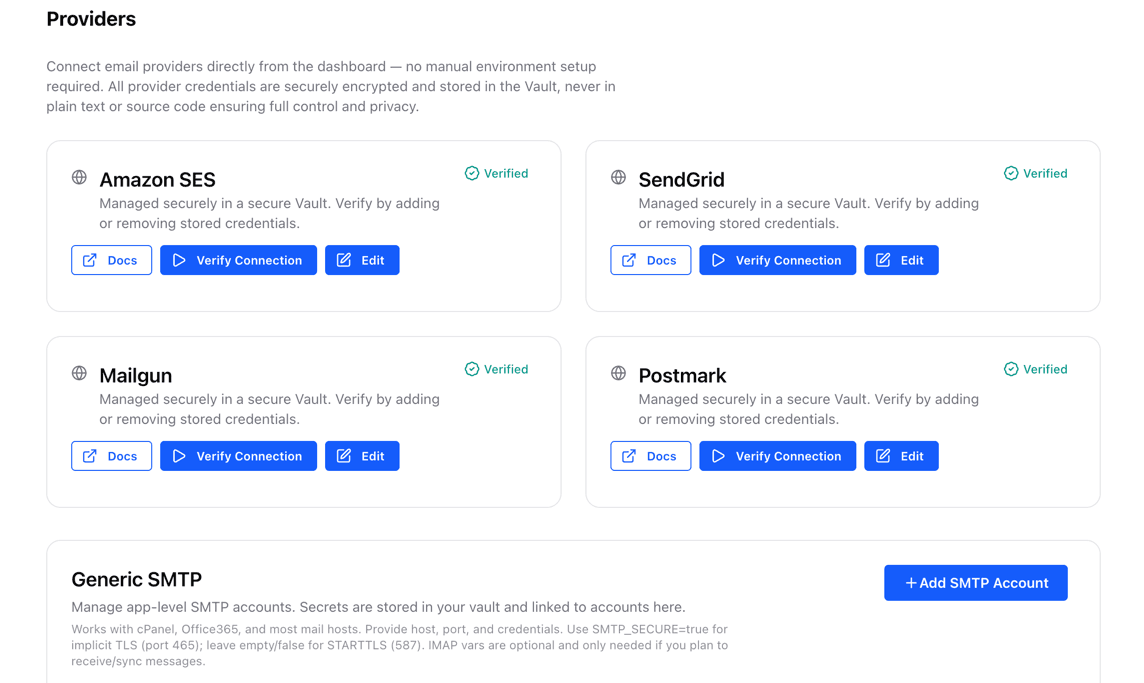
If your organization manages providers for you, this section may already be configured. Ask your workspace administrator before adding another provider.
3. Add and verify a domain
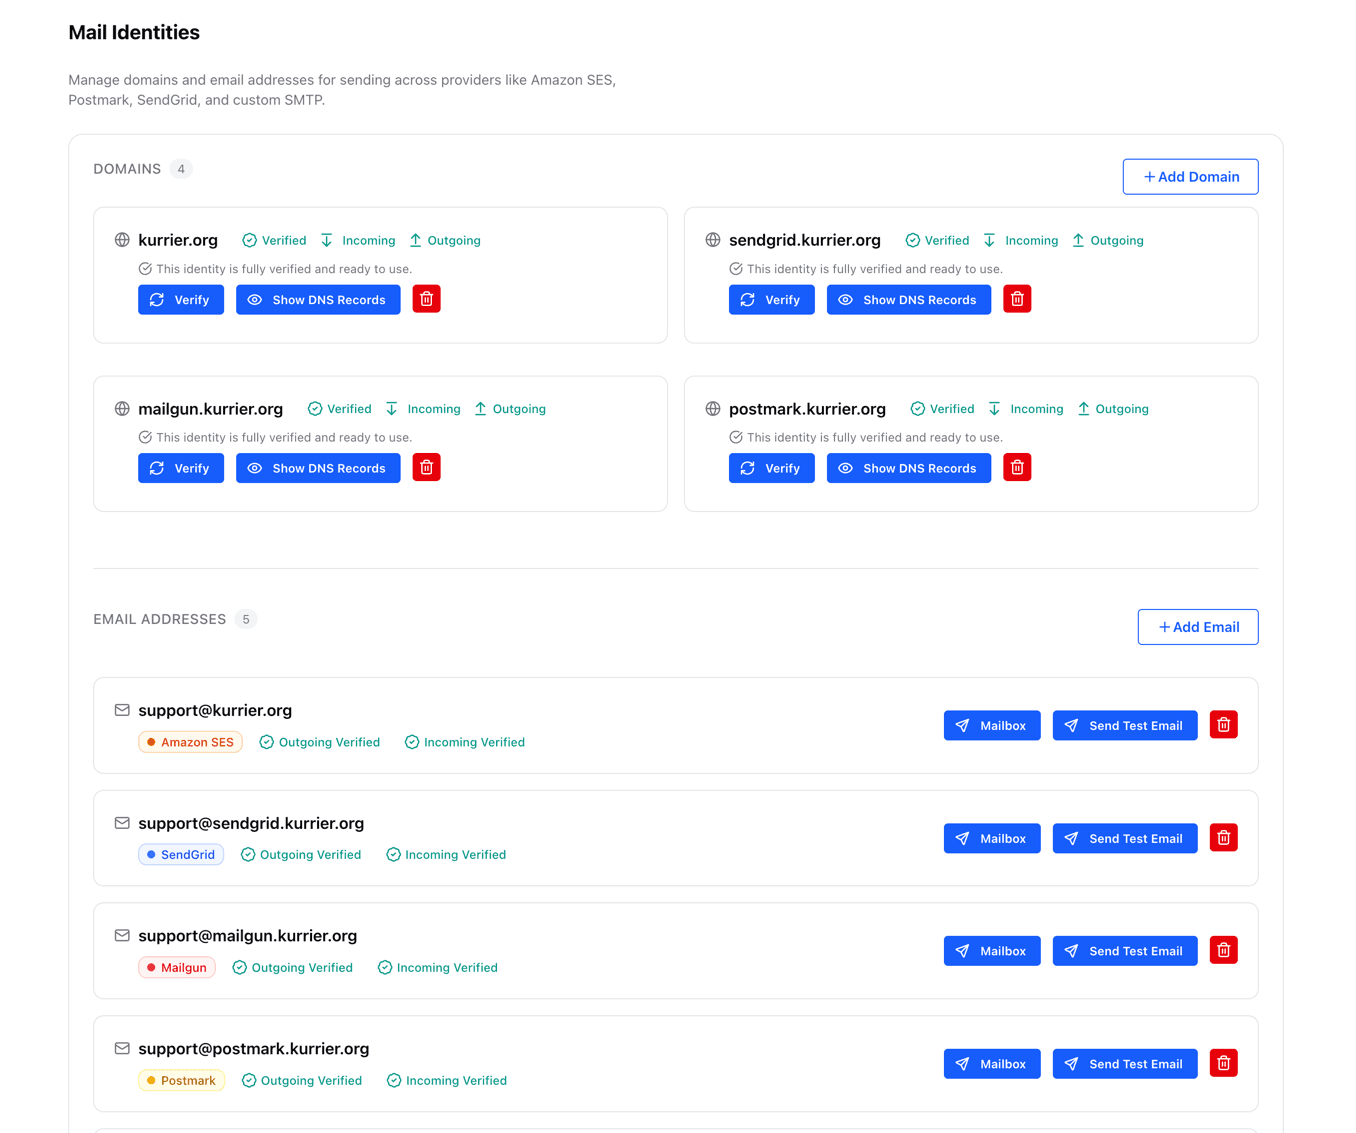
A domain identity lets your workspace use addresses belonging to a domain such as example.com.
- Go to Identities → Add Domain.
- Select the provider that will handle the domain.
- Add the DNS records displayed by Kurrier at your DNS provider.
- Return to Kurrier and select Verify Domain after the records have propagated.
DNS changes are not always immediate. Depending on your DNS provider, verification may take some time.
4. Add an email identity
After the domain is verified, create the addresses your team needs—for example, support@example.com or name@example.com.
Each email identity can have its own mailbox and sending configuration. The identities available to you depend on your workspace access.
5. Send a test email
Use Send test email beside an email identity to confirm that its sending configuration works. You can then open Mail and compose a regular message from that identity.
If a test fails, review the provider status and domain verification records before trying again.
6. Let Kurrier synchronize your mailbox
For identities connected through IMAP or another supported mailbox service, Kurrier synchronizes messages in the background. Initial synchronization can take longer for large mailboxes; you can continue using the rest of the workspace while it runs.
Next steps
- Create an email signature from the identity's mail settings.
- Add contacts and connect a CardDAV client.
- Create calendars and connect a CalDAV client.
- Explore the Message Inspector when you need technical details about an email.
Need help with setup? Contact Kurrier Support. Never include passwords, API keys, or sync credentials in a support request.